Showing posts with label Technique. Show all posts

October 31, 2012

Wanted to know

Lisa, from Wild Soul Arts dot ning asked how I made the background for a Rumi Quote. So I told her and then thought ‘hey I bet others may want to know.’


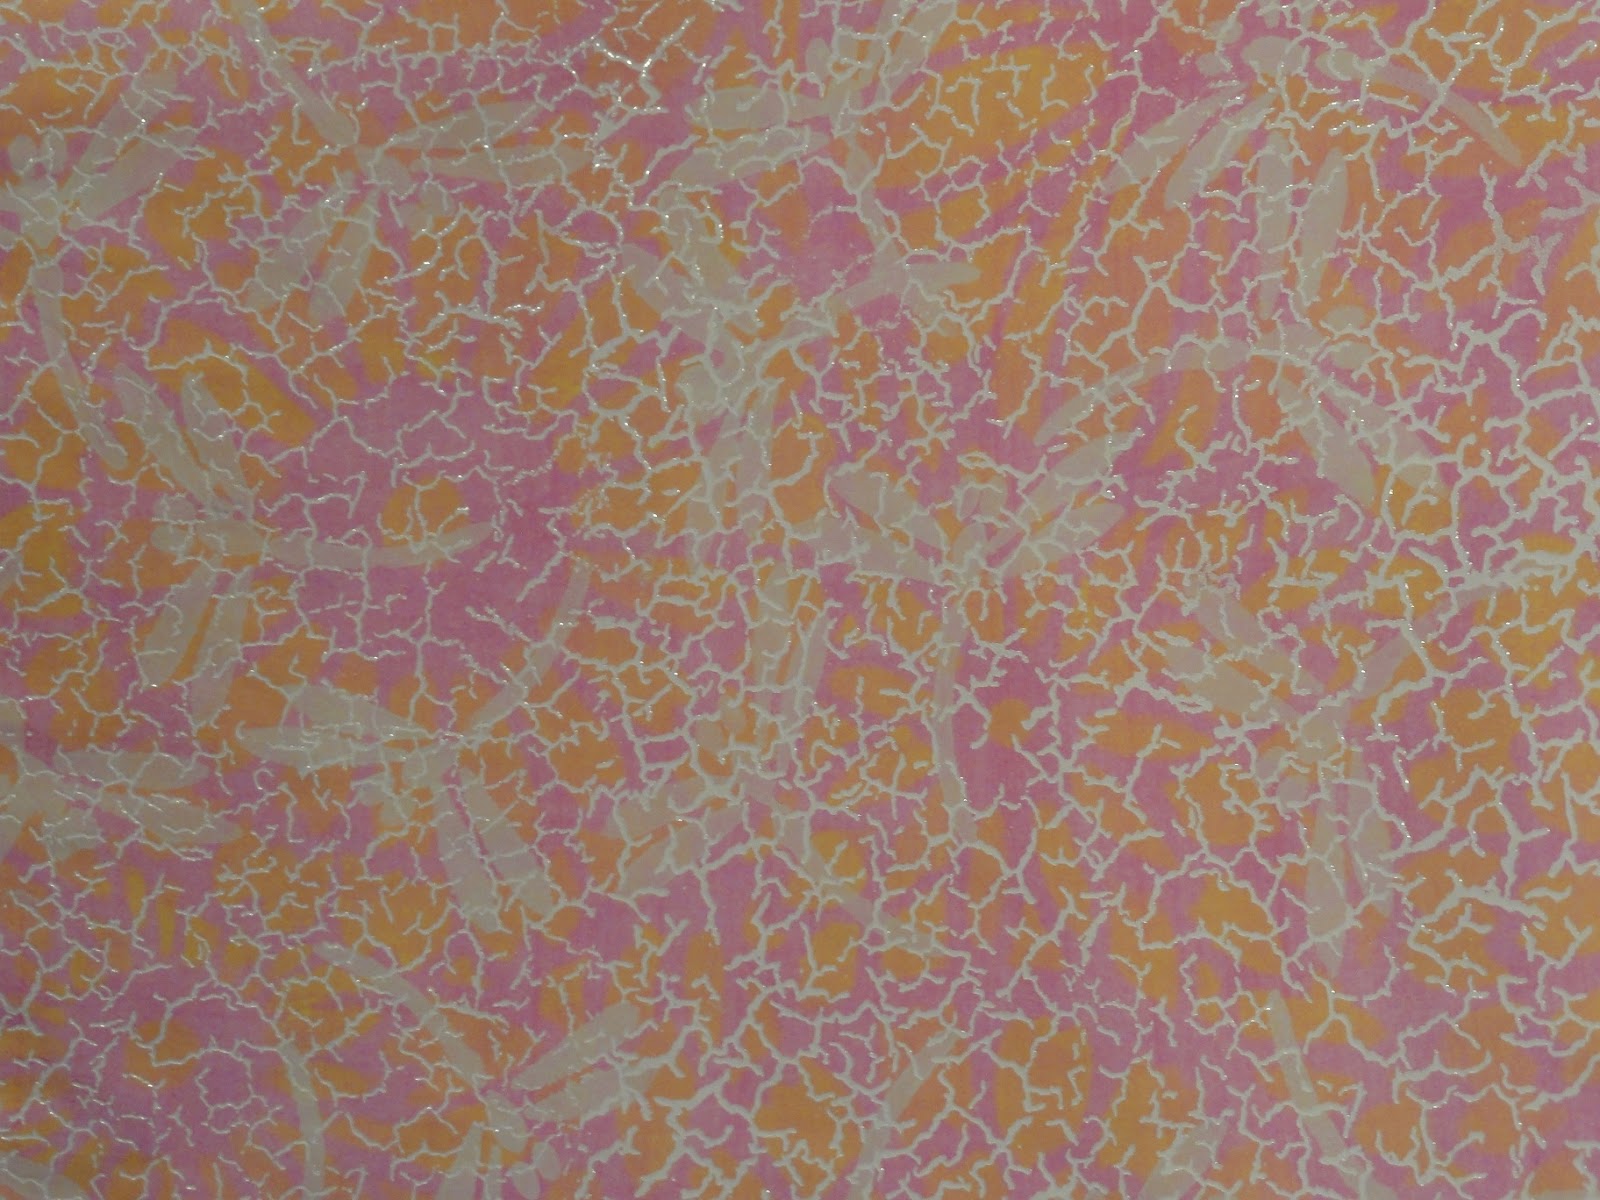
For this post I started with: 1 sheet printer paper, Royal Fuchsia wash (paint, water & matte medium), Yellow, very pale light Green, White Pigment Ink, White Embossing power, soft paint brush, make up sponge/ wedge, a rubber texture thing for putting texture on clay / fimo, a 12 x 12 inch paper stencil, a 6 x 6 inch plastic stencil – and don’t forget to let all layers dry between and the Heat Gun grand finale.

Painted the white paper with the wash, first in one direction then the other (kinda linen looking)


Using a makeup wedge Stenciled on the yellow


A clean makeup wedge - Stenciled on the pale green


Stamped white ink with the rubber texture thing over half the page, then added the embossing powder while the ink was still wet, then stamped the other half and again sprinkled the embossing powder. Tapping the paper off & returning the un-stuck powder back into the bottle. 


Finally used the Heat Gun to melt & set it.  Yummm pretty


Happy Art’ing Y’all

November 10, 2011

Shirley or Surely NOT


that Y'all are tired of background papers. Well I'm not, soooo I wanted to show ya how I did this one...


Mostly because I was asked how I did it and luckily for me I took photos.
AND to show WHAT was ON MY EASEL @BladeTheArtist 

I started with a gesso'ed newsprint page from a poetry journal I read and carded on some azalea (not Salmon) paint. Then I used a stencil that I daubed with gesso in select areas. Streaked on top of that with thinned down orange paint.


Stamped a bird with sepia ink, a dragonfly in medium/light blue paint, and a butterfly with a dirty looking brown dye ink. I had hoped that heat setting the last would work...


The blue was too bright and stand outty, so to quiet it down I used a music stamp with gesso and then used an iridescence medium over the top of the whole thing. And when I did that most of the butterflies drifted away. But I liked it anyway and hope that the person who received it in Dede's ongoing-background paper swap likes it too.


One has just got to love making background papers with Paula layers.

November 3, 2011

and more More MORE


Background paper…but alas this one is not for the swap’age. Sorry but it ended up way too heavy/thick IMO.

My Beloved works for a company that is / was offering a tire rebate / coupon thing. And he knows I love coupons so he brought a few home for me. I naturally thought of y’all and decided I’d make a sheet of background paper with them to share.

I grabbed my matte medium (not golden so don't call me) and a piece of tissue paper. The plan was to glue’age the coupons to the tissue so the paper would not be too heavy. But it didn’t work very well…nope not at all


The coupons are thicker than the tissue (duh! I know) and the tissue tore and bunched up and junk so I tossed that and turned to my old friend the copy paper. I like how it turned out but again it’s too heavy to share. Humm PC/ATC maybe.


And here is a pottery bowl (air dry clay) piece I’m working on.


 And here is the Bubble Painting surprise
(what’s on my easel @BladeTheArtist)


 Happy 
          .F
             .A
                 .L
                    .L
                       . Arting 
                                   .People 

October 27, 2011

Backgrounds - How to


umm, how to…errr how I did anyway

Using a sheet of white copy paper I applied a very watery brown wash with a sponge brush. It gave the paper a sort of streaked effect. I then did the same thing with a super pale pink.


I used a white china marker to trace a stencil.


Then followed that with a green wash.


And ended up with this for Dede’s ongoing - background paper swap’age. One from Set No 7 on Flickr.


Happy  Arting

September 22, 2011

Love how...


this paper trick'age worked out for me. I don't know if y'all have seen iKerriLove work with tissue paper, but you should. Because of that and having received some of Rejoyce's background paper she used tissue paper on, inspired me to try and do ... are you getting the idea this gonna be about Tissue Paper?

If so then you are correct, right-ah-mundo. I did some homemade alcohol ink* spray'age on crumpled up white tissue paper. Like in an older post of mine here. But anyways for this pro ject (said JournalArtista Style)

crumpled tissue tossed in my dry dish pan / bucket thing


spritzed with homemade alcohol ink* (I used a purple and pink)


After it dried, I laid it flat and smoothed it out as much as I could without tearing. I did NOT iron it as I wanted the texture.


I then adhered it to plain white copy paper (like iKerriLove does) ONLY I mixed a bit of Iridescence medium into my glazing medium (glue). The Glazing Medium as opposed to Matte gives a glossy sheen. With this pro ject (JournalArtista voice) I have not had any stick'age. ps you can adhere it to colored paper for a slightly different look.


I then pulled a inkiwell, and used this fancy texture paper to cover some chip board and made a journal. I plan on using it for note keeping and such at the meetings of the Conroe Art League


*Homemade Alcohol Ink Video, by Jan Fox, can be found on the ArtJournaling dot NING dot com site that you should join if you are not already a member.


And there ya have it a post of Link Love and Tissue Paper "magic" Love how ... So what have you been doing?

September 1, 2011

Modeling Circles


First, yes I know what today is, the horror is still very vivid in my heart. May God continue to surround everyone affected with comfort and love.

I have been asked by a few people how I made the 3D circles on my Work in Progress – The big painting. So here is a short’ish recreation photo-log with a few words (or more) of how I did it. Right or wrong this is my technique for making raised circles on canvas.

I sketched out on a scrap of paper what I wanted to paint and while doing so I thought it would be cool for the smaller circles were to be raised but have a hollow middle. Yes, sort of like a donut. I played around with it and finally did it like this…

I took an old medicine bottle used TickyTack to hold on the canvas, but for this photo session I used other circle thing-ah-ma-jigs


applied some modeling paste around it


Let is set up for a few minutes before I removed the template


Smoothed out the ridge with a moist finger


Depending on what effect you want you can add more modeling past to fill in any cracks or build up the ridge more. Pending what you use the thickness may cause cracking as it dries. Also depending on what actual product you use, (modeling paste, tube & tile caulk, silicone) you may be able to sand it. Always read the directions for your particular product for all cautionary notes etc. And of course you can always free hand or do other shapes…your only limitation is Your imagination.

Happy Arting y’all 

July 14, 2011

Printing with Objects

Not to be confused with Object printing (printing on an object). This came about because of an ATC swap that sounded interesting, simple rules Print using objects - NOT veggies, fruit, stamps, fingers, brushes or the like, but the unusual item. My first thought was a fork and on second thought I believed it would not be quirky enough. I really wanted to use what some would consider the unusual. On a couple I think I completed my mission...the last one used circles that I'm sure will not surprise one with experienced.

I used only acrylic craft paints and make-up sponges for applying the paint to my objects.

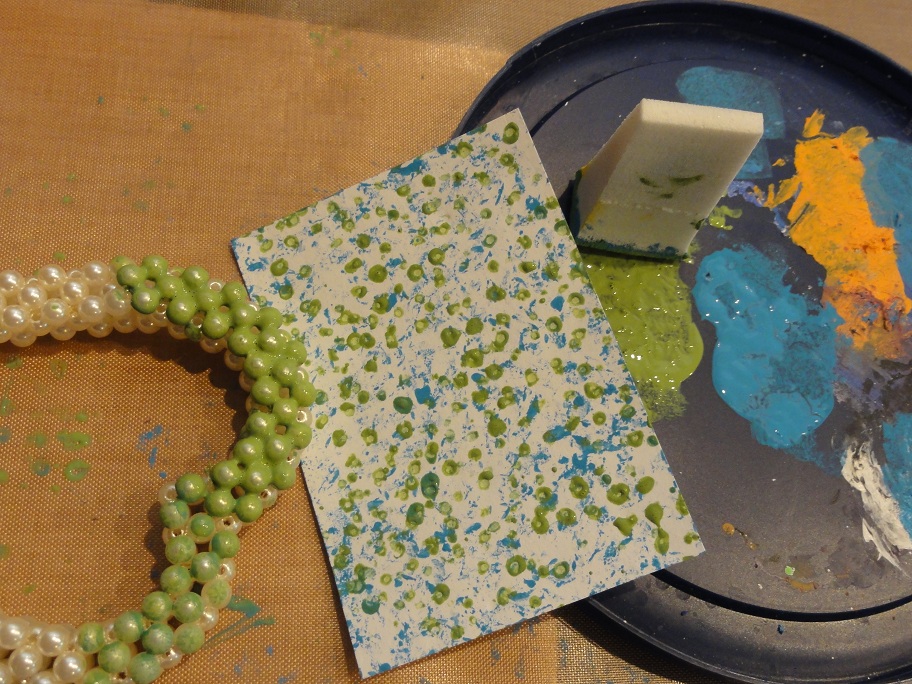
This first one is painted using some items out of a Broken/Crappie jewelry grab bag from the Goodwill. Hey don't knock it I have found treasure in these...So here are the objects I used for painting


 a very heavy chain, sponged on blue and sort of dropped pressed it on the white card stock


 a hair doo-lolly, sponged on the medium green and pressed it onto the card


 and lastly a beaded bracelet, sponged on light green and rolled / pushed the painted beads around on the card


 Title: Germination


Next card


I sponged the red paint onto plastic needlepoint canvas, laid the white card on top and pressed / rubbed with my hand. I did this several times to get the coverage I was looking for. And an FYI I will use this method again.


then I sponged blue on a homemade rubber band doo-hickie. (a lid from something with a few different rubber bands wrapped around it) I pressed that onto the card, I used both sides a few times


Title: Patriot


Next card (inspired by a background paper I made & LOVE)           


I used two different circles- one a lid from a big pen thingie and the other a little piece of PVC I found in the yard. First color applied to the medium purple colored card was black.


then came the white


then the dark purple paint


 and finally the medium purple paint, almost the same color as the card. Oh yes I will do this again.

  
Title: Put a Lid on It

 BTW these ideas can translate into Coffee and Art - Background Swap papers. {wink}

ps if any of my work inspires you to try something please let me know, I'd love to hear about your project.

July 1, 2011

Paper, it's real paper

I have been enjoying making back ground papers for a Swap over at Inkiwell Studios. So today (until next post) here is a show and tell. Not that I used any new sort of technique, this time...although I'm working playing around with something. Well I don't stream like Inkiwell Coffee and Art in the Morning so I hope pictures will be good for y'all.

These pictures are of the Asian BGs out of my Set No. 2, if you are part of the Coffee and Art in the Morning Flickr group you have seen the finished papers...If not prepare to be dazzled. I have already sent these in for the Swap'age so you may be a new or upcoming recipient of one or more of them.

I wanted to share, and was requested to show, the process of how the Red Asian BG (background) developed. But I didn't take photos so I made another with Blue, but they were done the same way.

I applied gold and antique gold acrylic paint in a cross hatchy mis-mosh sort of way covering the entire plain white typing (copy) paper.


Once the gold was dry I took a fun foam stamp that I had made and daubed blue paint onto it, stamping in a random fashion.


I then used an Asian rubber stamp with black ink, stamped in random. I ended with another stamp on top with sepia ink. That's it three simple stamps, three layers.


So what have you been making?
Related Posts with Thumbnails